
And having been a person who has done just that, yes, it's something to be attempted only if you really want to see it happen. And the end result won't be as professional as you envision going in. Or at least mine haven't--and I've made a lot of attempts.
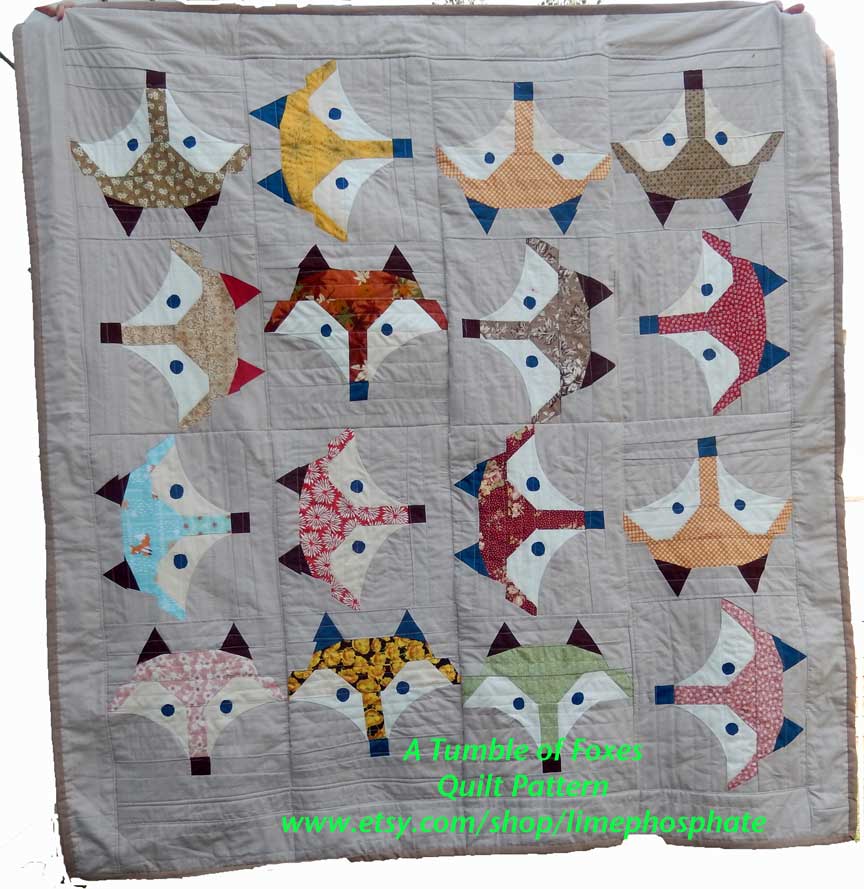
The alternate method is to piece your quilt in small sections, and then sew them all together at the finish. I made my fox face throw in this method, and took photos along the way so you can see it's not as difficult as you might think.
You take one quilt block, and sew it directly on to your batting material. There is no backing at this point, just the quilt block and batting. I cut my batting large enough for two blocks.


Then I sewed my four big blocks together into the complete quilt top. I added a four-inch wide fabric border to all sides, also using the same quilt-as-you-go method. Then I pinned the top to my backing fabric, and quilted on only two seams; you can of course hold on the backing as securely as you like, but for my purposes the top is what mattered and the backing is not so important.
No comments:
Post a Comment